Monday, March 26, 2012

Little Bits of Magic

Here are some bits of magic from the week of March 19th!

Pencil Shaving Magic


Nail Polish/ Color Palette Magic


A couple examples of the rainbow manicures I've seen this year (inspired by my nail art from the first week of school!)

The Magic of Working Together


The Magic of Having Your Portrait Drawn!


1. Portraits of Mrs. Gonzalez (sitting on the carpet) by two kinder artists.
2. Portraits of Mrs. Gonzalez (sitting at the table) by two second grade artists.
(all drawn as part of observation drawing week!)

The Magic of a GOOD BOOK

A few of our favorites:
1. Leonardo the Terrible Monster by Mo Willems

2. Pink Lemon by Herve Tullet

3. Babar's Book of Color by Laurent de Brunhoff

Secret Message Magic

(from my table-wiper)

What was magical for you last week?

Tuesday, March 20, 2012

Creative Challenge #1

Welcome to our first installment of Creative Challenges! Follow the steps below, read the helpful tips, and if inspiration strikes, take it to the next level!

STEP 1:
Draw a plant from observation.


Helpful tips:
- Drawing from observation means drawing what you SEE! (not what you remember, or imagine.)
- Use any drawing style that you like - make it sketchy, or make it neat; make your drawing with just lines, or add value and shading.
-Draw with any material that you like - pencil, pen, crayon, paint - even tape!
- If the plant is in a pot - draw the pot, too! If the plant is in the ground, include the ground!
- Don't have a real plant nearby? Use a fake plant, look out the window, or find a picture in a book or on the internet! The key is to find a plant to observe.
- Observation drawing is a
thoughtful process, during which you should be constantly looking back and forth between the object and your paper. So, take your time!

STEP 2: Transform your plant into a MONSTER!!!!

Helpful Tips:
- Take a look at your plant, and imagine it
transforming before your eyes - moving, breathing, making noises - its not just a plant anymore, its a creature!!!
- Add a face, body parts, textures, patterns and other details to transform your plant into a monster. Where is its head? Does it have claws? A tail? Teeth? Spikes? Fur? Wings?
- Imagine what kind of personality your monster has. Is it friendly, scary, silly, mean, gross, sweet?
- Does it do anything special, like breathing fire or flying?
- Consider the background of your drawing. Do you want to show where the monster lives, or add a colorful design to make it "pop"?

Take it to the NEXT LEVEL:

You've created an awesome drawing, now what else will you do with your new idea? Here are just a couple of ways to take it to the next level!

a) Do some creative writing about your monster! Pretend you are a scientist who just discovered a new species and document its origins, traits and habits. Or tell an interesting story involving your creature - it could be a terrifying thriller, a silly comedy, an exciting adventure or an extraordinary tale of friendship! The possibilities are limitless!

b)
Create 3-D sculpture of your monster! Build it out of recycled materials, like bottles, cardboard, and marker caps, or newspaper and masking tape. Or use play dough, model magic or clay to sculpt your creature. Look here and here at some of the birds built out of recycled materials by Briargrove students - wouldn't it be fun to try this with your creature? Or check out some awesome masking tape creatures made at Briargrove here, here and here. Exciting possibilities!

c)
Draw more monsters! Find more plants or other types of objects around you to draw from observation and transform into monsters! Check out these tool monsters for inspiration!

d) Design a
comic strip depicting the adventures of your new creature!

Children and adults alike are invited to participate! I'd love to see what you made for Creative Challenge # 1 - share a link in the comments below, or email an image to me @ kweymout(at)houstonisd(dot)org. Briargrove students, stop by the art studio so I can see what you made! I would love to feature submissions here on the blog!

Monday, March 19, 2012

Little Bits of Magic

Welcome back from Spring Break!
Here are some bits of magic from the week of the 5th!

Woodless Color Pencil Magic


1. The joy of a messy hand!
2. Exploring extra-special new art supplies.
3. A vibrant turtle.

Installation Magic

The lively swarm of bugs that covers the walls of our kinder/1st grade art studio.

Magic in the Studio

1. A drying rack FULL to the brim.
2. A lovely gift for the art teacher!

Portrait Magic


Having fun practicing my observation drawing skills.

Gallery Walk Magic

1. Viewing, discussing and appreciating.
2. Careful story-telling.
3. Exciting compositions.
2. Leaving thoughtful compliments.

Angry Bird Magic

Carefully-constructed collages a student made for his friends and brought to show us in the art studio!

The Magic of Adding Color


1. The brightest ice cream cones.
2. Subtle greens.
3. Colorful overlap.

Happy Mess Magic

Soon to return to "happy cleanliness-and-order magic"!
(now that we're back from the break!)

What was magical for you last week?

Thursday, March 8, 2012

Trees!

The exciting possibilities of Nature inspired our young Briargrove artists in this lush, colorful drawing unit. Kindergarten and First Grade students created their own personal depictions of trees while continuing to explore the rich capabilities of oil pastels. Just as no two natural objects are exactly alike, each drawing is a one-of-a-kind reflection of the child who made it.


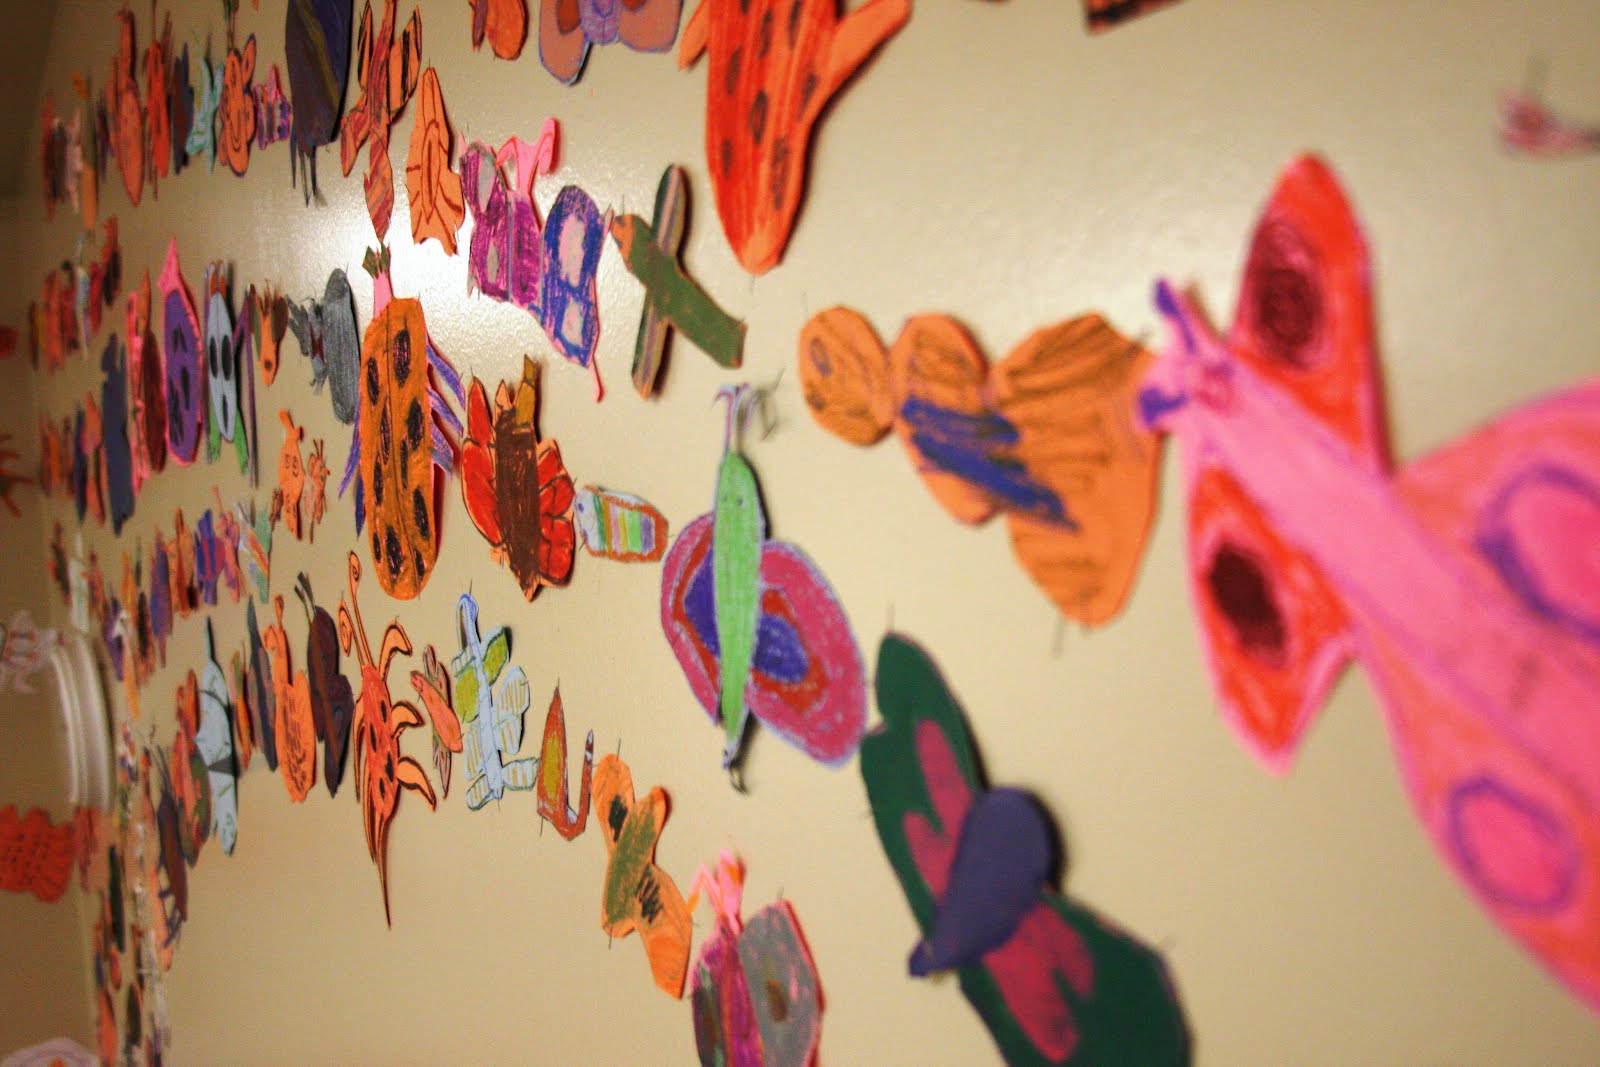
The students were very excited and engaged during this unit - it's no wonder that these trees are so full of life and spirit! The careful placement of each leaf, the expressively mixed colors of the tree bark, the interesting shapes of the branches and all the thoughtful details of these drawings make them truly beautiful to behold. Our student work display in the hallway gathered many admirers!


Challenge: Using your knowledge and memory of many different types of trees, imagine and draw your own unique tree!
Materials: Oil pastels, 9"x12" neutral colored construction paper, pencil (lesson 2 only)
Vocabulary: neutral colors (shades of brown, black, gray and white), secondary colors (orange, purple, and green), tints (any color mixed with white), texture, pattern, detail, line, form, parts of the tree (trunk, bark, roots, branches, leaves, etc.)

Lesson One:
Discussion: Research, read about, look at pictures, and study real samples from a variety of different trees! Especially focus on the form, textures, and colors of the trunk and branches.
Imaginative Play: Pretend to be a tree, starting out as a seed and then "growing" into different interesting tree poses. Relate each part of the tree to a part of the body.
Studio Time:Use neutral colors, secondary colors, and tints to begin drawing your tree trunk and large and small branches; roots can also be added if desired. Create an interesting texture on your tree trunk and branches by mixing at least three different colors and adding patterns or lines.


Lesson Two:
Discussion: What kinds of things grow on or live in trees? Think about, look at, and talk about the various shapes and colors of leaves, things that grow on trees like flowers, fruit, nuts, seeds, and pine cones, and other organisms that live on trees like moss, vines, bugs and animals.
Studio Time: Work on completing your drawing by adding leaves and other details to your tree. Use pencil if desired to help sharpen details, or to create lines and textures by scratching away layers of oil pastel. If there is extra space on your paper, work on creating an interesting background, which might include more trees, a sky and ground, or animals and people!

Further Enrichment Options:
(Opportunities for related learning experiences in the art studio after drawings are complete.)
a) Chose a real leaf or piece of bark from the box and create a detailed observation drawing using pencil or oil pastels on construction paper.
b) Research facts about trees in reference books, or read fictional stories involving trees.
c) Build a tree - or an entire forest! - out of marker caps and pattern tiles on the carpet.

Art teacher note: Blue, yellow, and red were not an option in this assignment, as we had been extensively studying the primary colors in the units leading up to this one. The colors that may appear primary in this series were mixed colors such as blue-green, which we chose to allow since they weren't pure primary colors. The exclusion of primary colors helped students to confirm what they had already learned: that no color combination can produce a pure red, yellow, or blue.

What kind of tree is your favorite? Mine is the Live Oak, with strong, sturdy branches that reach far and low, perfect for climbing, hiding out and thoughtfully observing the world below. For more artwork about trees, take a look at the collage and printmaking unit that Briargrove Kindergartners created two years ago! If you are an educator and have another tree unit to share, please post a link in the comments below!